Thursday, March 31, 2016

Dynamic Work Triangle


The stove, sink/dishwasher and the refrigerator, form a dynamic work triangle in the kitchen; organizing the kitchen within this dynamic space, makes activities flow easier. That’s why some kitchens invite while others deter, for example: refrigerator located away from drinking glasses, stove without adjacent counter for food preparation, dishwasher or sink separate from dish cabinets.
If you are planning on remodeling your kitchen keep this in mind, it will make your life a lot easier.


Wednesday, March 30, 2016

Avoid house cleaning... by keeping it clean!

The only way of avoiding house cleaning is by keeping it clean
Cleaning is a habit; once we get used to it, is not that difficult. Its easier to cook in a clean kitchen and meals are more enjoyable if a mess is not waiting in the kitchen after you are done dining.

Here are a few tips:
  • Aim at having clutter-free counters returning items to designated storage place (pantry, cabinets, refrigerator, etc.) after use.
  • Designating a place for everything makes life easier, and knowing where everything is saves time and money; people buy things they already have just because they can’t find.
  • Don’t let dirty dishes sit in transit on counter, placed them in dishwasher or sink.
  • Wipe clean all spills from floors, counters and appliances the moment you see it, don’t let it sit; spills harden and/or stain and someone –meaning you, will have to clean it later
  • If you involve children in cooking process cover floor, so they can truly enjoy the experience without adding work to your routine
  • As a matter of hygiene, keep pets away from food preparation area


Tuesday, March 29, 2016

Kitchen Organizing Tips


Here are some tips on how to strategically organize your kitchen:  
  • Store spices above or next to stove
  • Have baking and cooking spices separated –although in the same cabinet
  • Cutlerycooking spoonscan opener and other utensils, in an open container next to stove
  • Baking utensils (measuring spoons and cups, mixers, spatulas, brush, etc.) in a drawer, close to oven
  • Dishes stored in cabinet above dishwasher
  • Cups and coffee mugs in cabinet above coffee maker or next to serving dishes
Cups and coffee mugs in cabinet above
coffee maker or next to serving dishes

  • Glasses in cabinet next to refrigerator
Glasses in cabinet next to refrigerator
  • Serving dishes, between refrigerator and stove
  • Silverware, in drawer close to dinning area
  • Kitchen towels and apron in drawer close to sink
  • Plastic wraps, aluminum foil, plastic storage bags, in drawer close to refrigerator
  • Serving tools and serving mats, in drawer close to dinning area
  • Wine opener and gadgets, in drawer close to refrigerator
  • All small appliances can be stored in cabinets below counter
  • Cooking pots and pans, in cabinets below counter, next to stove
  • Baking pans in cabinets below counter, preferably separate from pots and other pans
  • Cleaning products for daily use, under sink


Saturday, March 26, 2016

Easy to remove pool blanket

Recently my beautiful wife gave me a heat pump for our pool. After having it professionally installed, my next concern was minimizing impact on our electric bill.

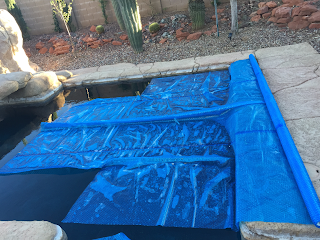
After some research I opted for a 14'x28' thermal blanket,  instead of other options such as small rectangular or circular pool covers.


I knew that if not easy and quick enough to remove and put back this solution was not going practical. Removing a 14'x28' blanket from a pool without aid is hard enough, putting is back a total nightmare.

There are solutions out there such as these blanket reels


They sit on top of pool,  are bulky, expensive and above all... I don't like them! Therefore embarked on creating my own solution.

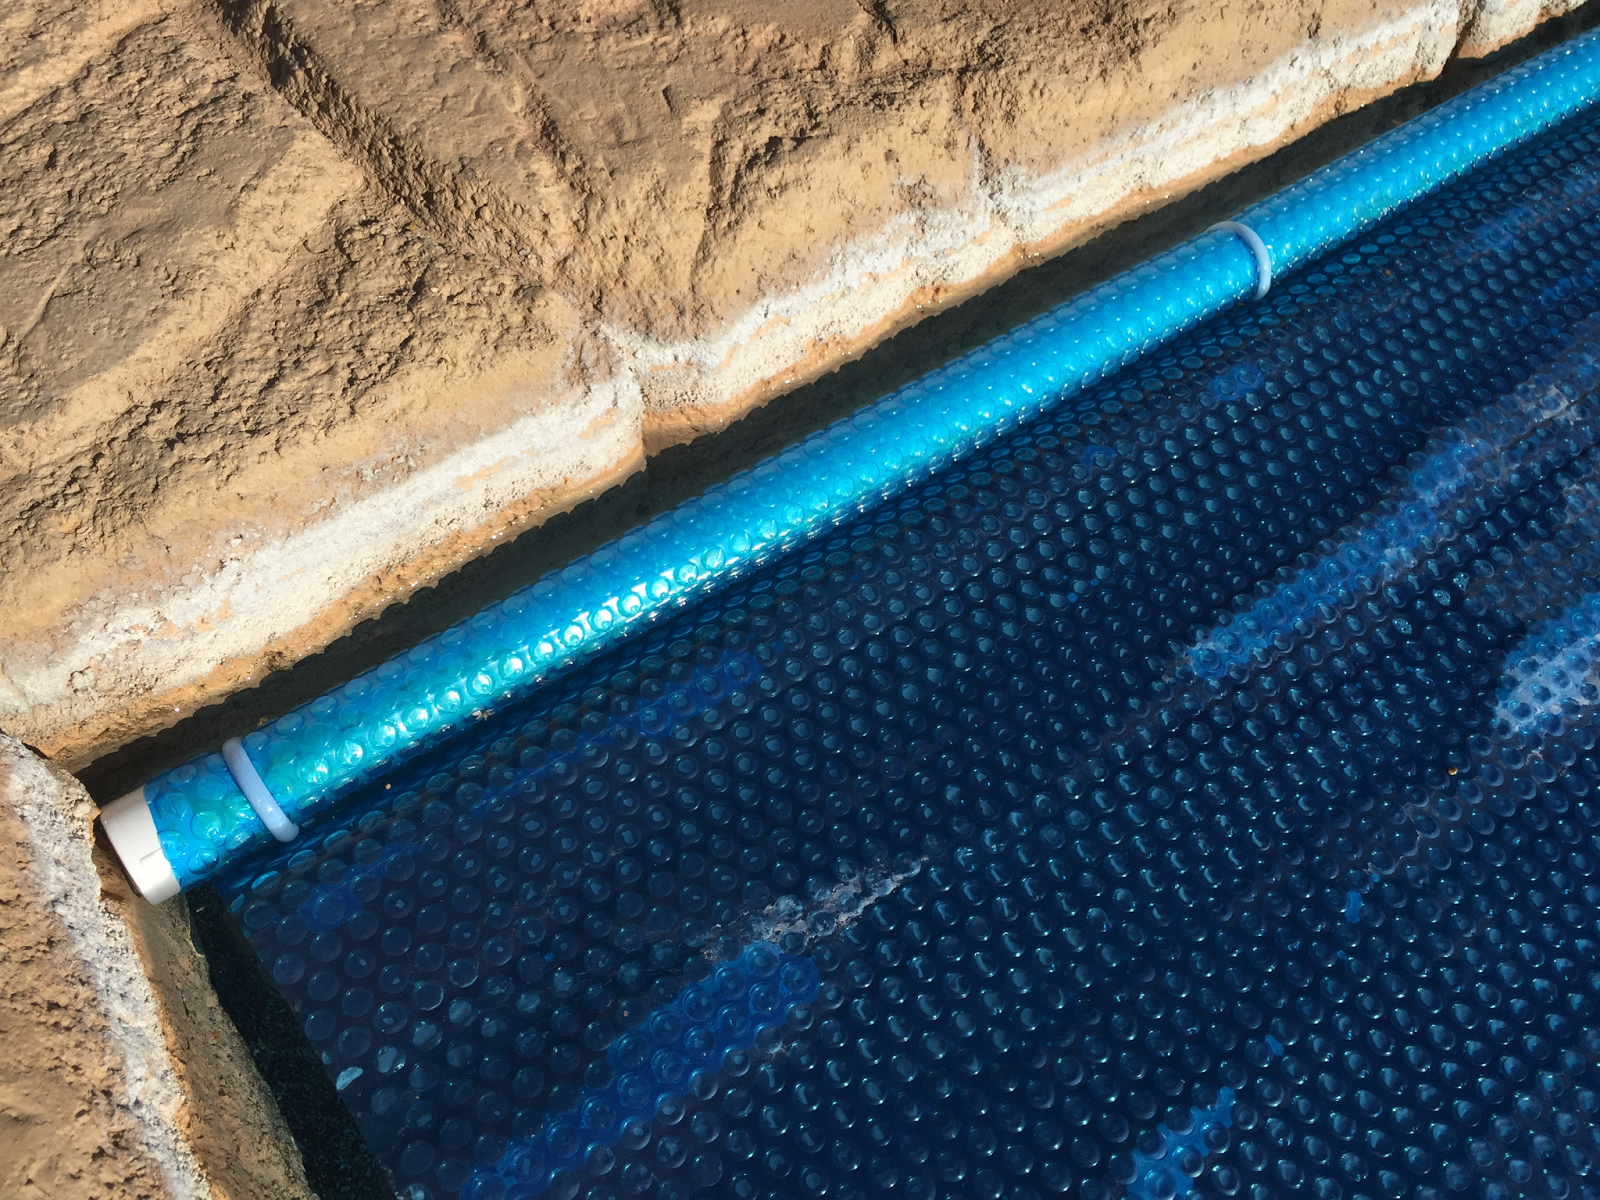
I figured that attaching PVC pipes, used for irrigation, to my thermal blanket could work for rolling and unrolling it.

A 1 1/4 inch pipes, attached by using shower curtain rings or tie-wraps works to perfection.  Removing cover takes about one minute, keeping blanket inside pool while rolling it, and about two minutes putting it back.


Cut pipes according to your pool width.
Use couplings if more than one pipe is required.

Make sure you cap both ends to avoid water getting into
PVC pipes.
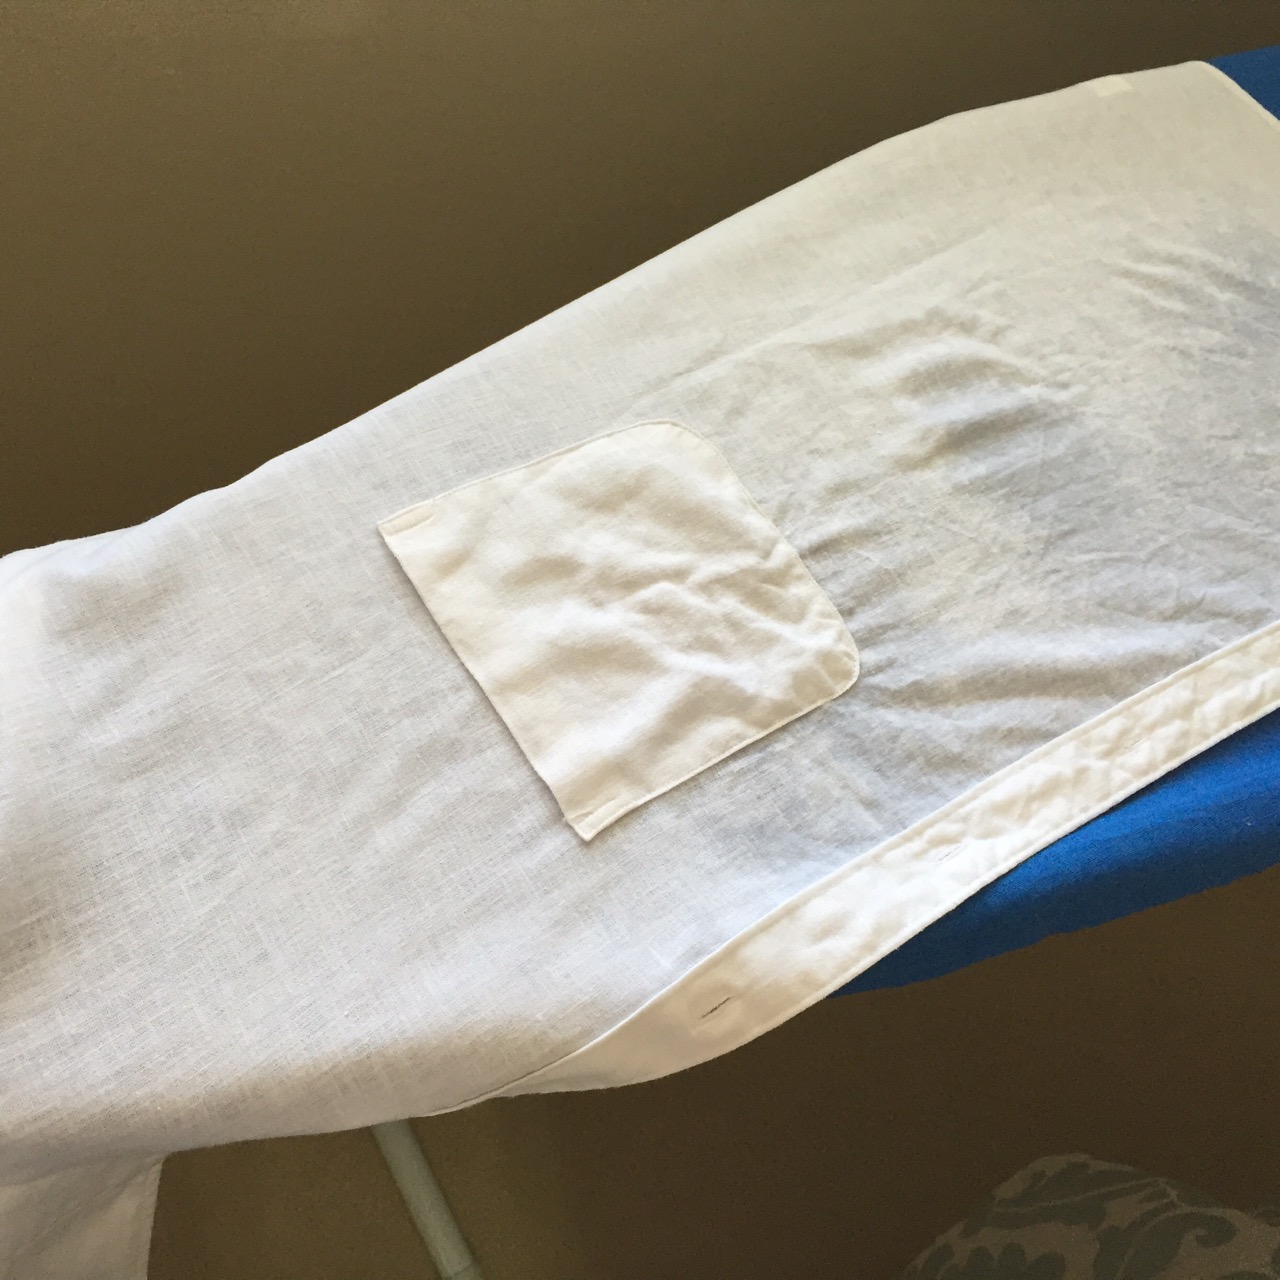
Use shower curtain loops or tie wraps to attach blanket to
pipe, one every two feet should work just fine.
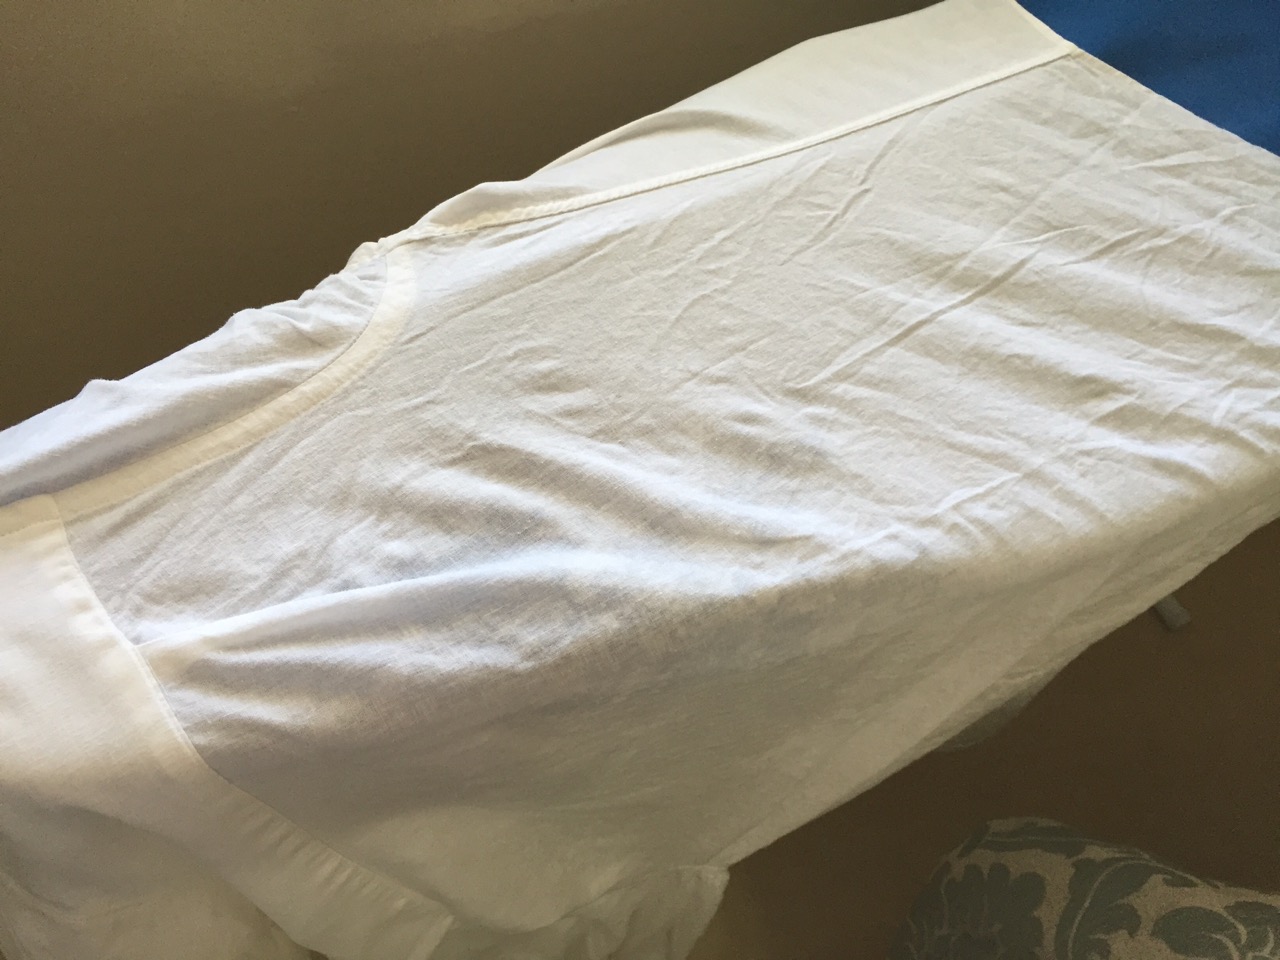
Reel blanket in by rolling it up from one end using very short
strokes to keep roll very tight.
Remove from water once done.
It will take a few tries until you get it right but it works
as a charm.


Saturday, March 19, 2016

Easily Ironing Linen Shirts


Most high-end garments, comfortable and stylish, are made out of natural fibers. But quite often, the cost of dry cleaning dissuades buyers.  I love cotton, linen and silk blends, and long ago learned to take care of my favorite clothing at home, following manufacture’s instructions. 

A slightly crumpled linen garment is chic, if it doesn’t look chewed-on. You can let steam soften wrinkles, hanging in the bathroom what you plan to wear next day, or touch-up with iron before wearing it.
Use water sprayer or canned starch
It takes about ten minutes to iron a linen shirt. Sprinkle garment with water before ironing, and use a water sprayer or canned starch during ironing process, following these steps:

1- Iron collar back and front
2- Iron cuff back and front
3- Fit left upper front of shirt into ironing board to reach sleeve.
Spray water or starch and iron
4- Shift to upper back, fitting into ironing board to reach sleeve.
Spray water or starch and iron. 
5- Fit front upper section into ironing board reaching sleeve.
Spray water or starch and iron. 
6- Turn front section lengthwise, straightening string of
buttons and button-holes (left and right panels).
Spray water or starch and iron, back and front.
7- Stretch left front panel on ironing board.
Spray water or starch and iron entire panel, side-to-side,
top-to-bottom motion. 
8- Shift to back panel, stretch on board, spray water or starch
and iron, starting on one side with top-to-bottom motion.
Repeat step 7 on front right panel 
9- Spread left sleeve on ironing board using seams as guide to
avoid double creases. Spray water or starch and iron,
back and front. Repeat process on right sleeve.

Ironing any garment is easy when we do the intricate parts first.


Tuesday, March 15, 2016

Removing Stains From Carpets

Don't you dread this moment?
Professional carpet cleaning can be expensive, and should be done at least once a year; more often if budget permits. However, you can maintain your carpets fairly clean vacuuming regularly and removing stains.

Most carpet stains are food, grease, dirt, sugary drinks or pets urine. Organic stains (pets, body fluids, etc.) can be removed using ammonia or a white vinegar watered down mixture, oil-base stains with a degreaser and hot water, and sugary stains with dish soap diluted in hot water. 

Whatever method you chose, remember to dry carpet as much as possible with a dry towel after cleaning and, if area is still damp, set a portable fan on it to avoid humidity stains.

To remove red wine spills, pat dry with paper towel, pour salt to absorb remaining liquid, let it dry. When it is completely dry vacuum salt. If there are still traces of color, apply carpet spot remover of choice and brush briskly, pat dry with clean towel, using water to remove soap. Let it dry and vacuum, stain will be gone.
Pat dry with paper towel
Pour salt on stain 
A lot of salt
Vacuum salt when dry
And stain will be gone
For dry stains of unknown origin, use fabric or carpet spot remover and brush briskly to penetrate spot, if stain persists, damp further with cleaning mixture letting it set-in longer to soften, scrubbing with brush until spot disappears. Here are Some suggested cleaning mixtures:
  • Equal parts of white vinegar and hot water and a couple spoons of dishwashing soap. Apply liberally letting it soak for 5-10 minutes. Apply more hot water and blot with a clean, dry towel until stain is removed. If stain persists, apply extra solution on spots and brush briskly. Dry with clean towel
  • For red wine spills, spat spill dry with paper towel and cover area with regular kitchen salt, let dry and vacuum thoroughly
  • For all organic steins, use mixture of ammoniac and water, scrub area with brush. Spat dry and vacuum
  • Ink on carpets and clothing? Soak with regular milk, then use soap and water to remove milk.
  • Dirt spots? Mix baking powder and hot water, apply to area, brush, dry with clean towel, apply more hot water if needed, drying with towel. Let it dry completely and vacuum
  • Coke or pop sodas? Dry with towel picking as much liquid as possible. What stains carpets is the sugar oxygenation process. Apply a mixture of warm water and dishwashing soap with rag, dry as much as possible with clean towel. Mix equal parts of white vinegar and water, soak mixture and apply on affected areas. Let it soak 10-15 minutes, dry with clean towel. Repeat process if needed, until stain is gone.
  • For stubborn spots use oxy clean and water mixture, apply to stain rubbing it with wet towel. After spot is removed, extract as much as possible with wet towel and dry with clean towel
I can’t overemphasize the convenience of having a wet vacuum cleaner at home, it can take care of emergency situations and help you maintain your carpets, water stains’ free; prices range from $45.00 to $150.00

Am I missing something?  Do you know a better way of doing this?  Please share with the group.  Your thoughts, ideas, comments and suggestions are welcome and greatly appreciated.


Sunday, March 13, 2016

Turning a half bath into a full bathroom

A full bathroom for under $5,000
We needed a shower downstairs, having a 90 X 80-inch powder room that appeared too small for a full bathroom, we toyed around with different ideas and hired “Considered-it-Done” a remodeling company in the Phoenix area.

Before
After
We removed sink to make room for the shower, built a dual purpose wall creating a shower stall and a toilet chamber. 

We placed the new sink/cabinet in front of the toilet sit, and chose shower curtains instead of glass doors for elbowroom, using existing fixtures and mirror. We are very happy with the results and more so considering it was all done for under five thousand dollars.  


Friday, March 11, 2016

Removing Stains from Clothing


Removing stains from whites is easy
Removing stains from whites is easy. Always read the labels on garments and follow instructions. I use Clorox bleach on cotton fabrics and Oxi-clean, Clorox 2 or other Stain Removers on mixed fabrics and light color garments. The best treatment for stubborn stains is to soak in cleaning product, scrub briskly with brush, and let sit for a few hours, checking often on progress. Socks, white towels, and cotton fabrics can be boiled in a large stainless steel pot with Oxi-clean detergent to loosen dirt; after about 5 minutes proceed with regular washing.  


I use a Q-tip to apply Clorox directly on small stains on whites; for light colors dilute bleach with water.

The t-shirt shown here took some scrubbing with a tooth brush, to remove stain completely.  Don’t  let pure bleach set in fabric more than a few minutes, it can weaken it; after achieving desired results rinse thoroughly and proceed with regular washing.  

Use Rit Fabric Whitener and Brightener to bring whites back to life, including stubborn stained collars or yellowish stains. I do it periodically.

To remove stains from color garments, apply and let sit on stains, using:
  • White vinegar-for blood and body fluid stains
  • Lemon juice and baking powder mixture-for vegetable stains
  • Degreasers-for food and oil stains
  • Regular comercial spot removers, like Shout-for most other stains
  • Salt-for red wine
  • Milk- for ink

Am I missing something?  Do you know a better way of doing this?  Please share with the group.  Your thoughts, ideas, comments and suggestions are welcome and greatly appreciated.


Thursday, March 10, 2016

Decorate with What You Already Have


Use your imagination, creativity is free
We don’t have to run to the store each time we want to perk-up a room. We can use items we already have around the house to create clusters of similar items, following color schemes by contrast, analogy or monochromy, or same texture, patterns and styles


An improvised rock garden

Gather those hidden collections: ceramics, wicker baskets, wooden items, hats, baseball caps, tin plates, etc., turning them into a “new theme” for room decoration.  Use children’s toys in their rooms: dolls, cars, transformers, sports related collections, etc.
A potted plant, changing shower curtains, towels and rug colors from one bathroom to another, framing or replacing mirrors, are just a few inexpensive ideas to freshen-up the bathrooms. A coat of paint on old benches or chairs, filling glass containers with colorful pebbles, shells, or aquatic plants, give you a fresh look in any room


Living in Florida, I often use beach items to decorate


I love sea shells in the bathrooms


Wednesday, March 9, 2016

Leave Dirt Out of Your Home


My mother Milagros traditionally crochets slippers for everyone 
To maintain our carpets clean, we trained the children to remove their shoes at the front door. Children crawl on the floor and collect what is carried in our shoes. Asians take their shoes off to protect their family from diseases, germs and dirt. Everyone removes their shoes upon entering the homes in China; during my first visit there, I was impressed seeing this tradition in place in a very practical way. Homes have a dedicated area to remove shoes and visitors are provided with slippers. Everyone takes their shoes off!


We have implemented this idea in our home. We have a place for shoes at each entrance, and a basket with our own slippers and inexpensive disposable ones for our visitors. You can also have washable ones like those used in hospitals.

You will be surprised to see how this “No shoes” policy helps maintaining a cleaner and healthier home.